How to Tie a Figure 8 Knot, Mid-Rope
The figure 8 knot is a fundamental knot used in climbing and other outdoor activities to create a secure and reliable loop in the middle of a rope. To tie a figure 8 knot mid-rope, start by creating a small loop in the rope and then pass the working end through the loop. Next, bring the working end around and back through the original loop, following the same path through the loop to create a figure 8 shape. Ensure that the knot is tightened and dressed properly to prevent it from slipping or coming undone. This knot is commonly used as a tie-in point for climbers and as a stopper knot to prevent the rope from running through a piece of gear.
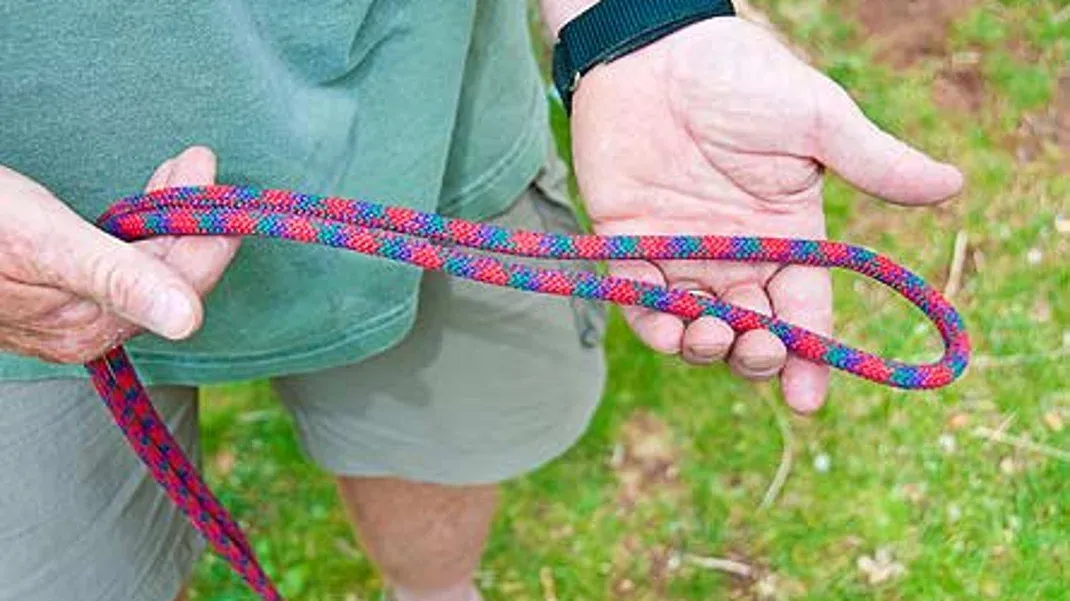
Tying a figure 8 knot, mid-rope, is an essential skill for any climber or outdoor enthusiast. This knot is strong, secure, and easy to untie, making it perfect for a wide range of applications, including rock climbing, rappelling, and sailing. In this guide, we'll walk you through the process of tying a figure 8 knot, mid-rope, step by step.
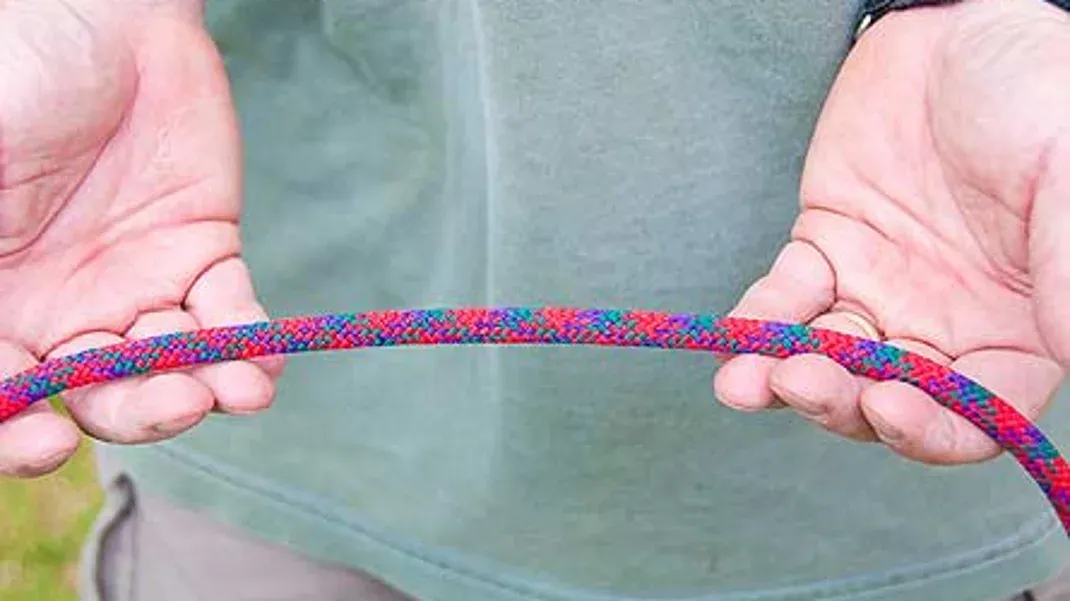
To begin, you'll need a length of rope and a clear workspace. Make sure the rope is clean and free from any knots or tangles. It's also important to inspect the rope for any signs of wear or damage before using it for any critical applications.
Step 1: Start by finding the middle point of the rope. This can be done by folding the rope in half and then locating the point where the two ends meet. Once you've found the middle point, hold it in one hand and the two loose ends of the rope in the other.
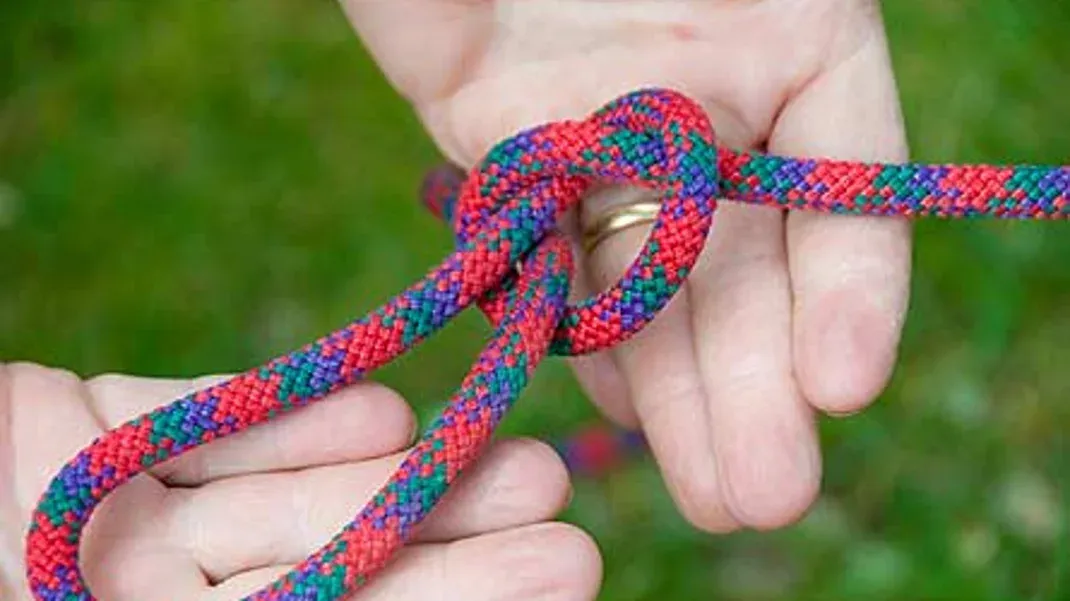
Step 2: With the middle point of the rope in your hand, form a loop by crossing the two loose ends over each other. The loop should be large enough to work with, but not so large that it becomes unwieldy.
Step 3: Next, take one of the loose ends and pass it through the loop from underneath. This will create a simple overhand knot, with the loose end passing through the loop and back out the other side. Make sure to leave plenty of excess rope on the loose end, as this will be used to form the rest of the figure 8 knot.
Step 4: Now, take the loose end that you just passed through the loop and bring it back over the top of the standing part of the rope. Then, pass it back through the loop from the top. This will create a second loop that mirrors the first, forming the classic figure 8 shape.
Step 5: Once you've passed the loose end back through the loop, pull it tight to secure the figure 8 knot. Make sure to dress the knot by pulling on both the loose ends and the standing part of the rope to ensure that it is properly formed and tightened.
Step 6: Finally, inspect the knot to ensure that it is properly tied. The two loops should be symmetrical and parallel to each other, with no twists or tangles in the rope. The knot should also be tight and secure, with no slippage or movement in any direction.
Congratulations, you've successfully tied a figure 8 knot, mid-rope! This versatile knot is perfect for a wide range of applications, including rock climbing, rappelling, and sailing. With practice, you'll be able to tie it quickly and confidently in any situation.
It's important to note that while the figure 8 knot is strong and secure, it is not suitable for all applications. For example, it should not be used as a bend to join two ropes together, as there are better options available for that purpose. It's also important to inspect the knot and the surrounding rope for any signs of wear or damage before use, as a damaged knot can be extremely dangerous in critical situations.
In addition to tying the figure 8 knot, it's also important to learn how to untie it properly. This can be done by simply reversing the process of tying the knot, carefully pulling on the loose ends and standing part of the rope to loosen and untie the knot. With practice, you'll be able to untie the figure 8 knot quickly and easily, even after it has been loaded with weight.
In conclusion, tying a figure 8 knot, mid-rope, is an essential skill for any climber or outdoor enthusiast. This strong, secure, and easy-to-untie knot is perfect for a wide range of applications, including rock climbing, rappelling, and sailing. By following the steps outlined in this guide and practicing regularly, you'll be able to tie and untie the figure 8 knot confidently and quickly in any situation. Remember to always inspect your rope and knots for signs of wear or damage before use, and never use a damaged knot for critical applications. With proper technique and attention to detail, the figure 8 knot will serve you well in all of your outdoor adventures.

