DIY Survival Bracelet
A DIY survival bracelet is a versatile and practical accessory that can be made at home using paracord and a few basic knots. This type of bracelet is designed to be unraveled in an emergency situation to provide lengths of strong, durable rope that can be used for a variety of survival tasks such as building a shelter, securing gear, or creating a makeshift tourniquet. The bracelet also often includes a built-in whistle, fire starter, or compass for added functionality. DIY survival bracelets are popular among outdoor enthusiasts, hikers, and survivalists as they provide a convenient and compact way to carry essential survival tools.

Are you an outdoor enthusiast, a survivalist, or someone who loves to be prepared for any situation? If so, then a DIY survival bracelet is a must-have accessory for you! This ingenious piece of gear not only looks stylish, but it also serves as a practical and potentially life-saving tool in emergency situations. In this comprehensive guide, we will delve into the world of survival bracelets, explore their uses and benefits, and provide step-by-step instructions on how to make your own DIY survival bracelet.
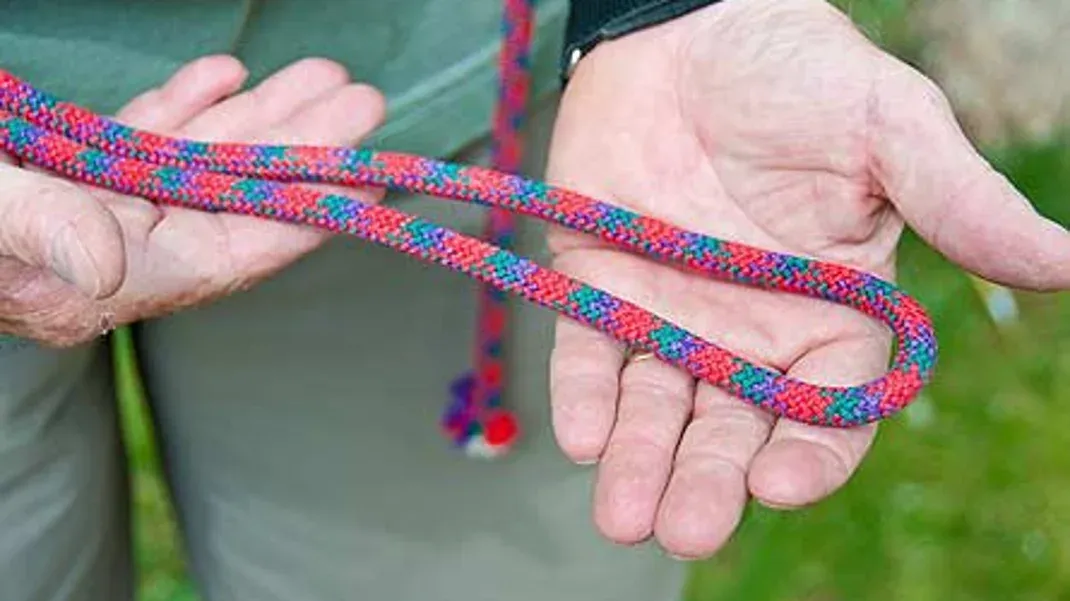
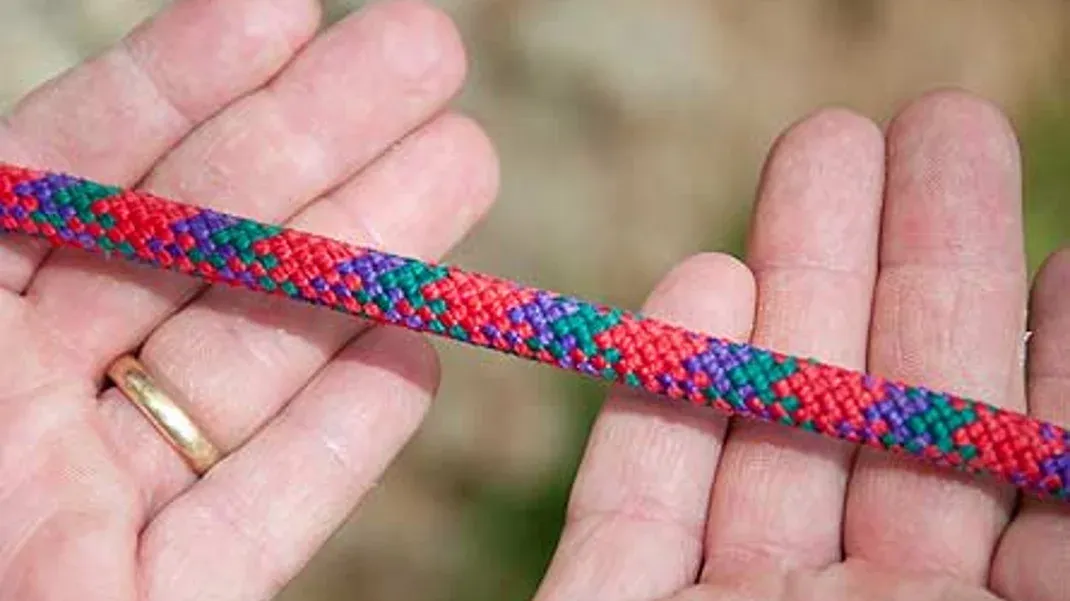
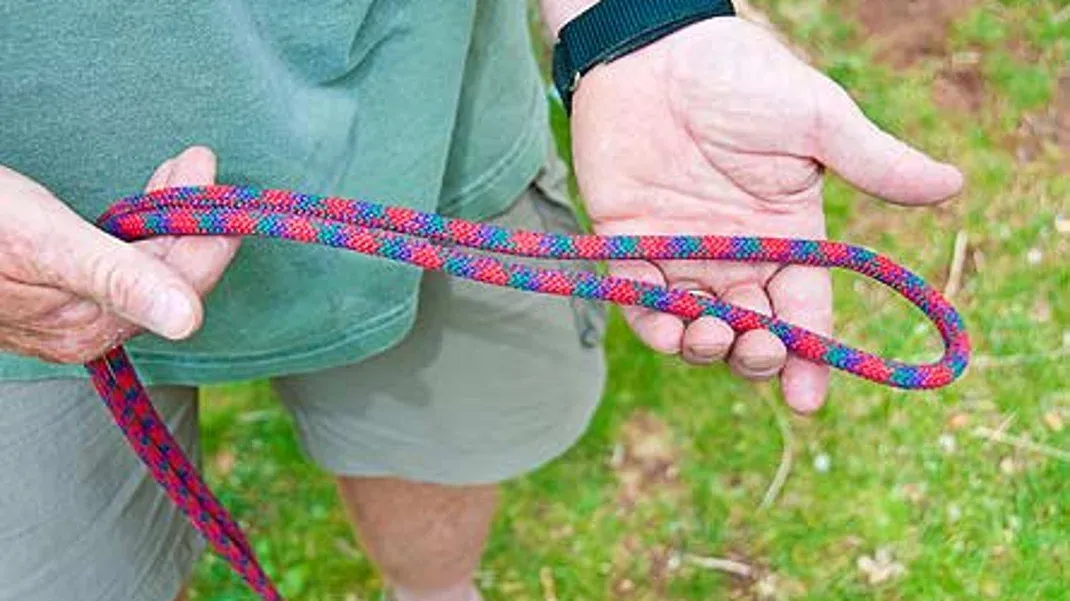
First and foremost, let's talk about what a survival bracelet actually is. Also known as a paracord bracelet, a survival bracelet is a woven band made from a length of paracord, which is a type of lightweight, nylon rope originally used in the suspension lines of parachutes. The bracelet is typically worn around the wrist and can unravel into a length of cord when needed. Paracord is known for its strength and versatility, making it an ideal material for survival situations.
So, why should you consider making or wearing a survival bracelet? The most obvious reason is its utility in emergency situations. The cord from a survival bracelet can be used in countless ways, such as building a shelter, creating a splint, securing gear, making a tourniquet, and even catching food. In a survival scenario, having access to a length of strong, durable cord can mean the difference between life and death. Additionally, a survival bracelet is a compact and lightweight way to carry a significant amount of cordage, making it an essential addition to any bug-out bag, camping gear, or everyday carry kit.
Another benefit of a DIY survival bracelet is its versatility. With a little creativity and know-how, you can customize your bracelet to include additional survival tools, such as a fire starter, a whistle, a compass, or a fishing kit. This means that your bracelet can serve as a multi-functional tool that meets a variety of needs in the wild. Furthermore, crafting your own survival bracelet allows you to tailor it to your specific preferences, ensuring that it fits comfortably and looks exactly how you want it to.
Now that we've covered the reasons why a survival bracelet is a valuable piece of gear, let's move on to the fun part: making your own! Crafting a DIY survival bracelet is a relatively simple and enjoyable process that requires only a few materials and some basic knotting skills. Here's a step-by-step guide to help you create your very own survival bracelet:
Materials:
- Paracord: You'll need a length of paracord, typically around 8-12 feet, depending on the size of your wrist and the desired length of the bracelet. You can choose from a wide range of colors and patterns to suit your style.
- Buckle: A curved plastic or metal buckle is used to fasten the bracelet around your wrist. You can find these at most craft or outdoor supply stores.
- Optional: Additional survival tools, such as a fire starter, whistle, compass, or fishing kit, can be incorporated into the bracelet if desired.
Instructions:
1. Measure and cut the paracord to the desired length, keeping in mind that the final length of the bracelet will be shorter than the initial length of the cord due to knotting and weaving.
2. Attach one end of the paracord to one side of the buckle. This can be done by folding the cord in half and securing it to the buckle with a simple overhand knot.
3. Begin weaving the paracord using a cobra knot, also known as a Solomon bar or square knot. To do this, lay the left cord over the core strands and under the right cord, then bring the right cord under the core strands and up through the loop created by the left cord. Pull both cords tight to form the first knot.
4. Continue weaving the cobra knots, alternating between left and right cords, until you reach the desired length of the bracelet. Make sure to keep the knots tight and uniform for a neat and sturdy finish.
5. Once you've reached the end of the bracelet, trim any excess cord and secure the remaining ends to the other side of the buckle using a simple overhand knot.
6. If you've chosen to include additional survival tools in your bracelet, you can integrate them into the weaving process or attach them to the finished bracelet using small loops of paracord.
Congratulations! You've now crafted your very own DIY survival bracelet. Not only is it a practical and potentially life-saving tool, but it's also a stylish and personalized accessory that reflects your individuality and preparedness mindset. Whether you're hiking in the wilderness, camping under the stars, or simply going about your daily life, having a survival bracelet at your fingertips ensures that you're ready for whatever challenges come your way. So, grab your paracord and buckle, and start weaving your own piece of survival gear today!


